Ukulele – Saddle Route, Bone Nut and Saddle Carve and Setup
 |
 |
 |
 |
 |
 |
 |
 |
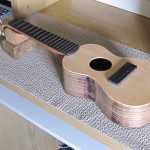
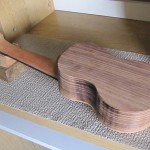
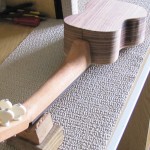
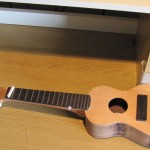
Two guys walk into my shop with a little Ukulele. One built this little masterpiece in his high school woodshed class and the other was inheriting it. While the wood working was precise and well thought out, the project remained unfinished for nearly 10 years! It was decided to finish what was started and get this little demon, screamin’.
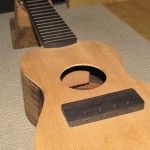
When building an instrument from scratch, there are always issues of hindsight. It’s literally imposible, even when standing on the shoulders of giants, to foresee and perfect every detail when building a prototype. For starters, there was no slot cut for this Ukulele’s saddle.
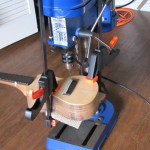
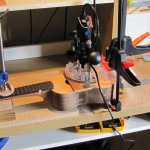
With a starter route from my drill press and a few cuts from my my handy Dremel, the slot was deepened and ready for action.
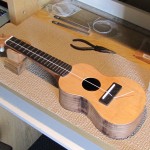
Next, a thin piece of moose bone was cut and carved for the saddle and another for the nut. In a short while, they were carefully placed on the body and headstock and it was finally time to string this baby up!
One last “gotcha” occurred when stringing up the A string. The same size hole was drilled in the bridge for the knotted strings to rest against. This poor string was pulled through 3 separate times when tuning up and was quadruple-knotted before it finally stayed put.
Even though home made instruments come with a few follies, they’re simply the most inspiring and valued to their creators for exactly that reason.

[…] to aid the neck height. I cut the new bone nut, (which I’ve explained my process in a few other blog entries), strung the guitar up and VIOLIA! This guitar’s got a brand new start in […]