Guitar Repair in Austin TX
Menu
Skip to content
Home
About
Services
Testimonials
Guitar Repair Archive
Contact Us
Tag:
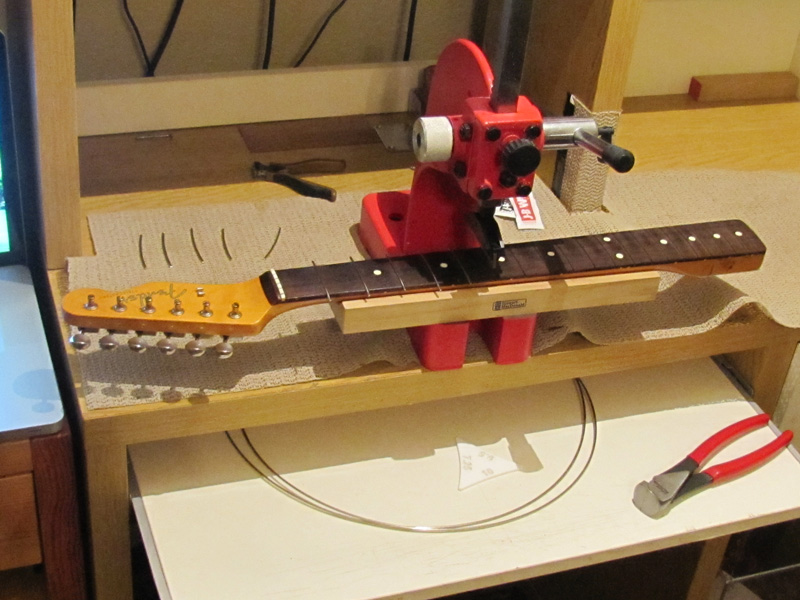
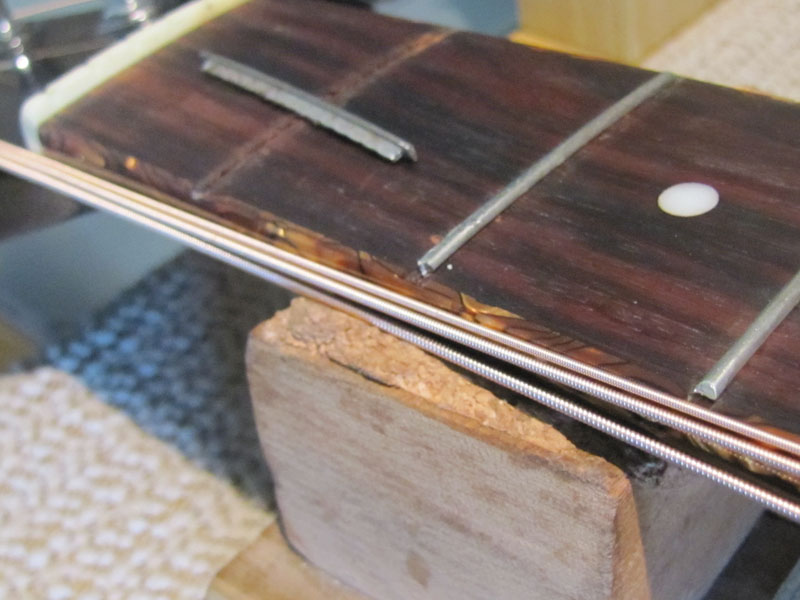
fret repair austin
November 7, 2013
November 7, 2013
Andrew
September 24, 2012
October 17, 2012
Andrew