Loading

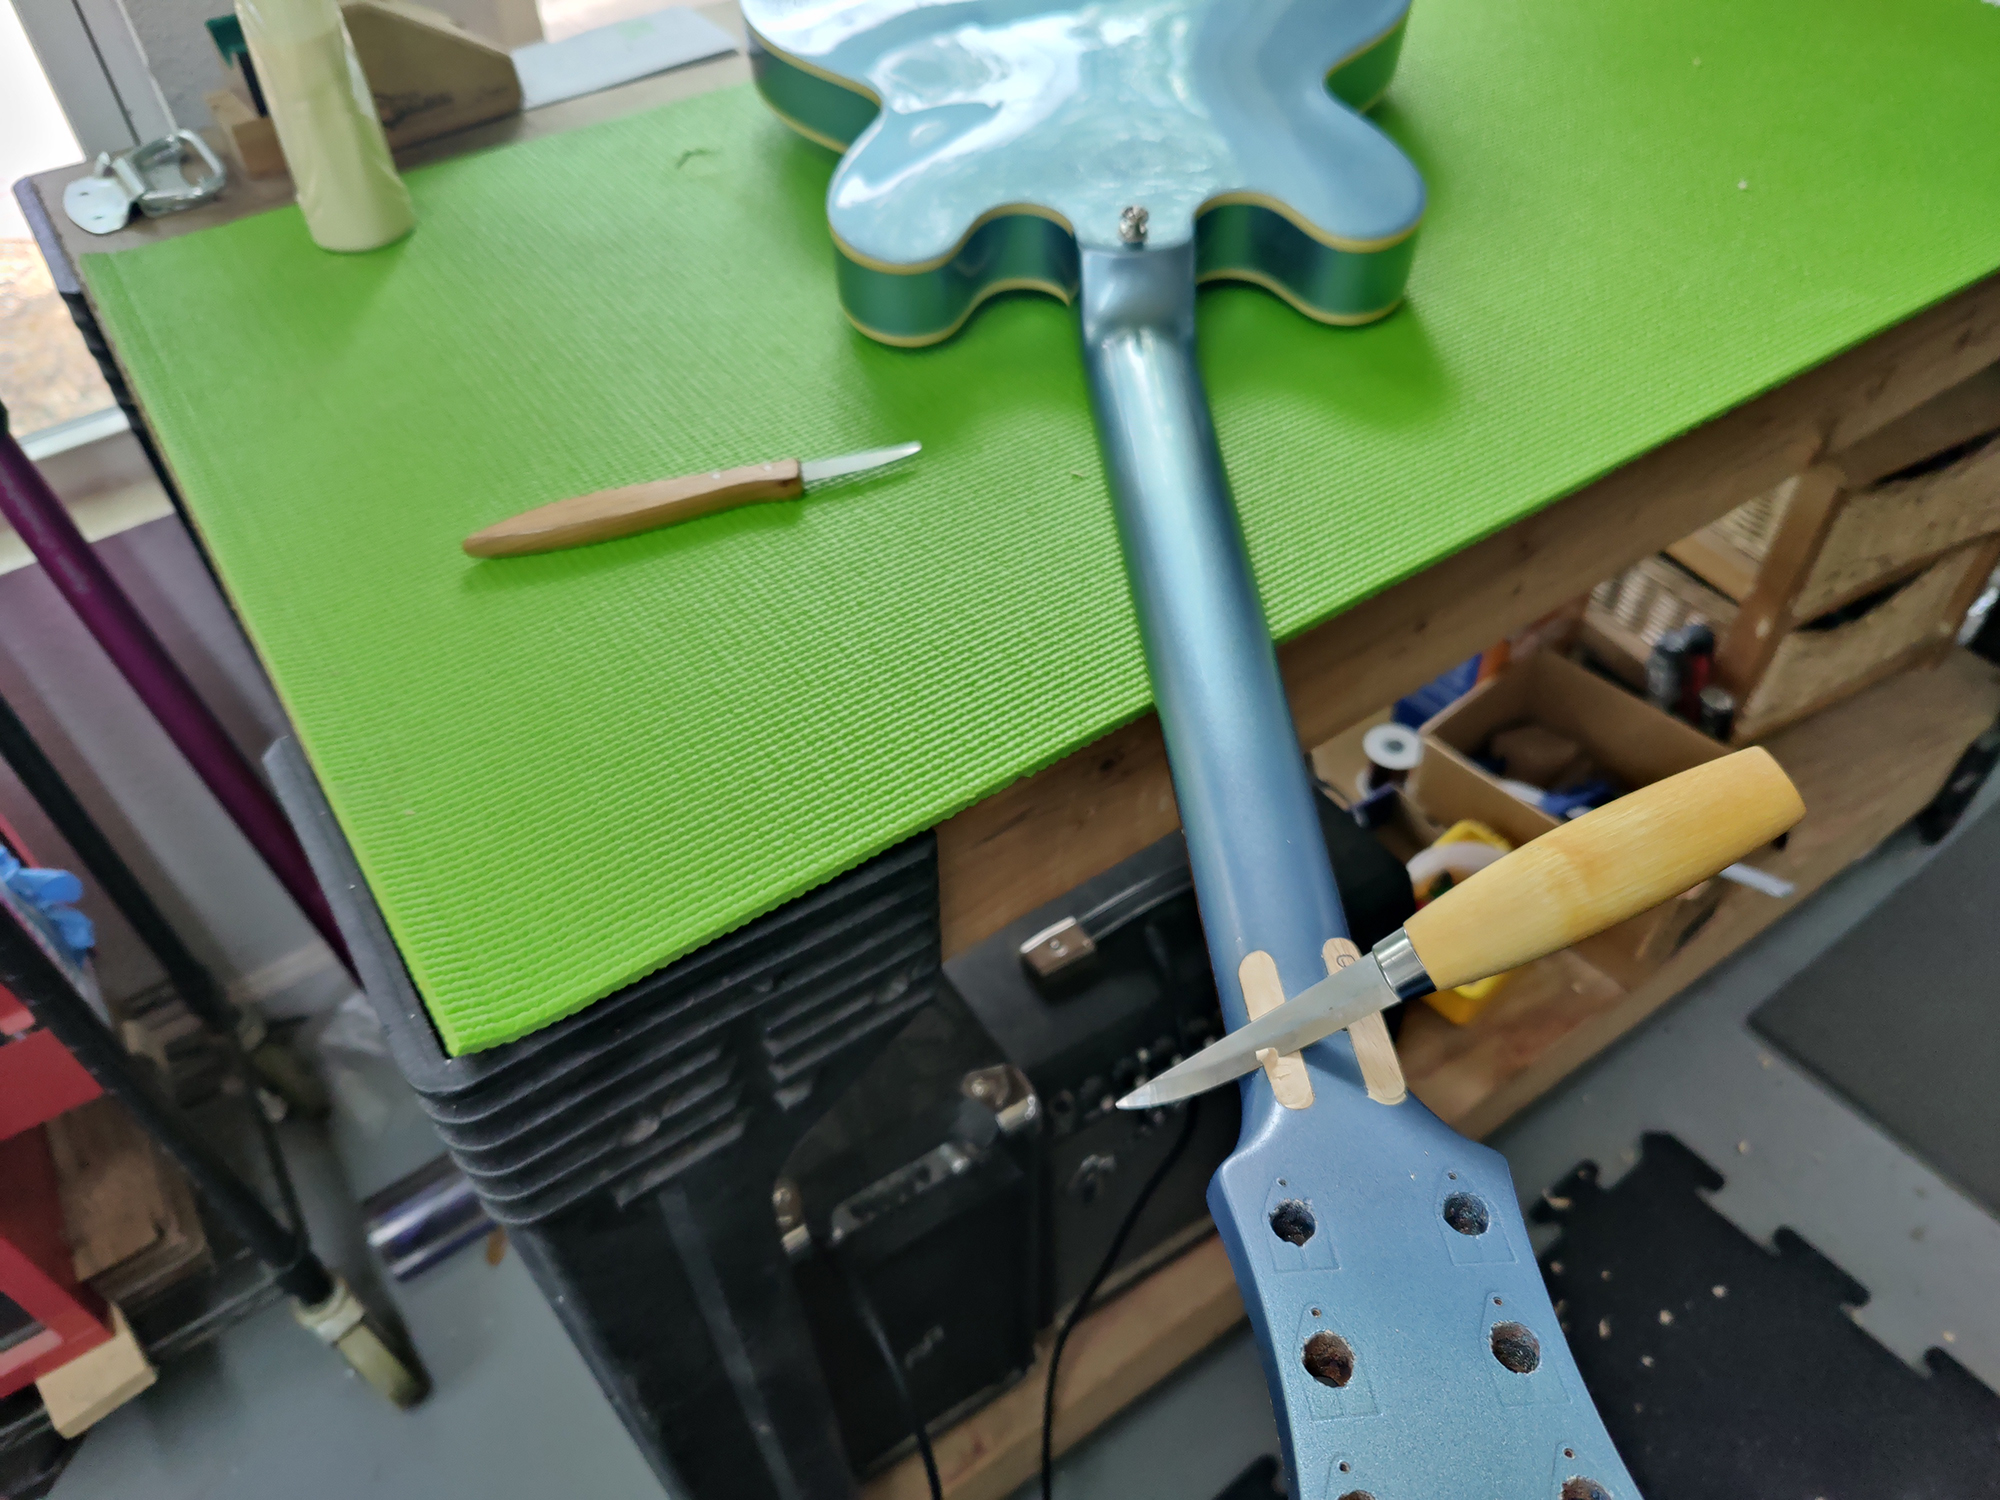
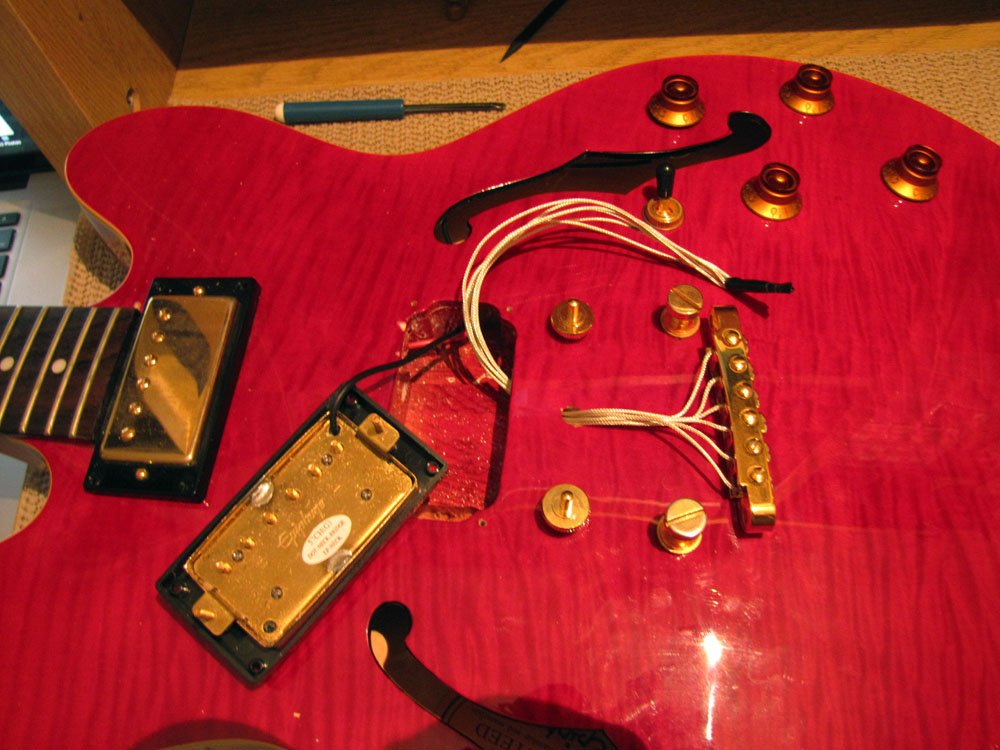
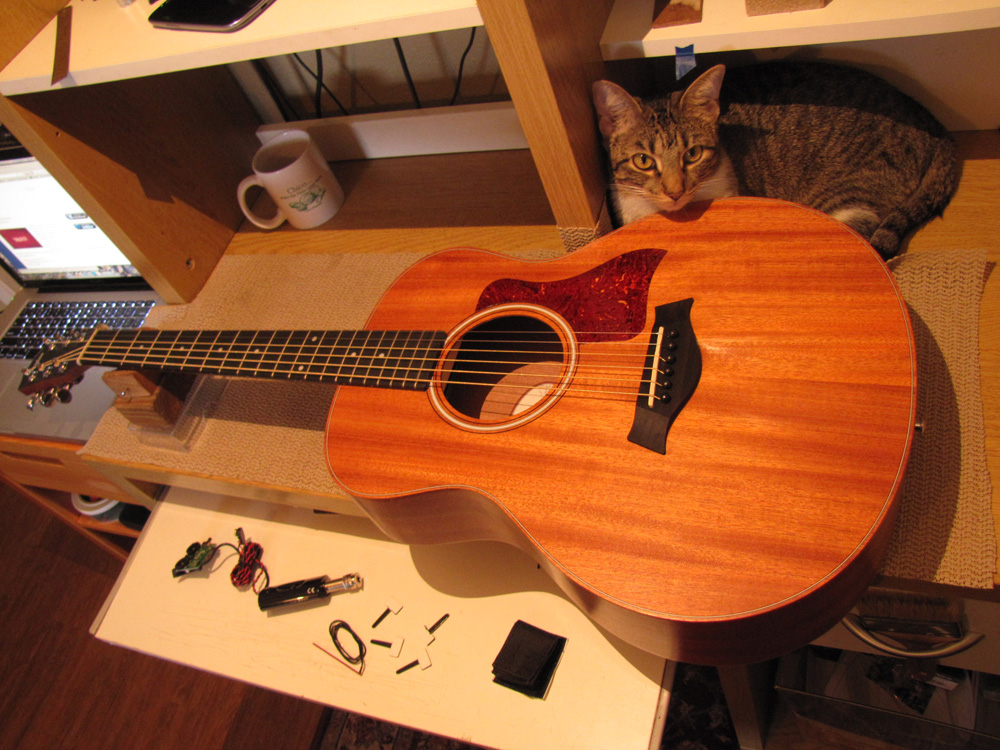
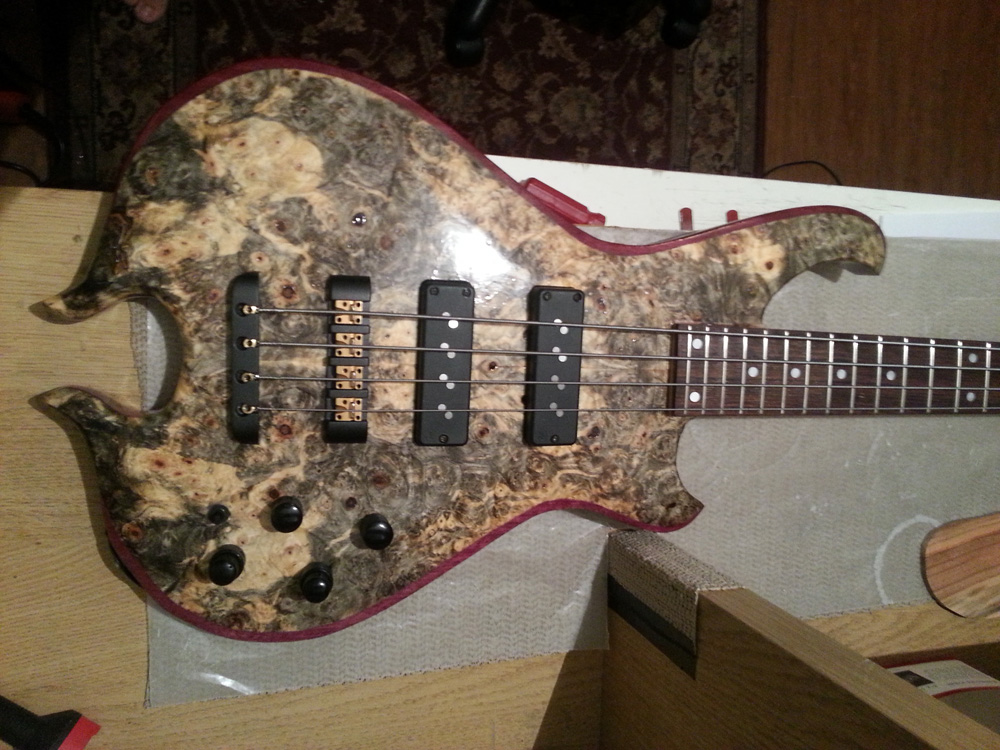
austin guitar repair

Epiphone 335 – LR Baggs T-Bridge Install

Epiphone 335 – LR Baggs T-Bridge Install

South Austin Guitar Repair

Wow. You know it’s a busy year when I took pictures of a project from February and have not got a chance to write about it until September.

Well, this was a noteworthy project to me. I love electronic mods to guitars. They’re magic to me. This one in particular was as much of a challenge as rewarding when finished. There isn’t much info on the T-Bridge system aside from purchasing and the product page on LR Baggs’ site. I hope this blog post can serve as a reference to other luthiers trying to find installation tips for the T-Bridge as I was when I took on the job.

Epiphone 335 - LR Baggs T-Bridge Install Epiphone 335 - LR Baggs T-Bridge Install Epiphone 335 - LR Baggs T-Bridge Install

The T-Bridge allows a guitar to blend the magnetic pickups with a piezo pickup in the bridge. The piezo pickup acts as a makeshift acoustic guitar for those who don’t want to change instruments between songs. It installs discreetly with a hole drilled under the tune-o-matic bridge to feed the 6 wires. From there, you can decide which way you want to wire the controls.

Epiphone 335 - LR Baggs T-Bridge Install Epiphone 335 - LR Baggs T-Bridge Install Epiphone 335 - LR Baggs T-Bridge Install

The customer wanted a separate output jack for the T-Bridge so he could send the signal to a separate amp. The controls were then wired as 2 volumes and a master tone, with the T-Bridge volume in place where the bridge tone knob was originally located. It is possible to wire the T-Bridge into the same circuit as the magnetic pickups and have a single output for the guitar. But wasn’t requested for this install.

Epiphone 335 - LR Baggs T-Bridge Install Epiphone 335 - LR Baggs T-Bridge Install Epiphone 335 - LR Baggs T-Bridge Install

Most aftermarket guitar mods come with some sort of “gotcha” or hiccup in the process. The T-Bridge was no exception. Two major hiccups, as a matter of fact. I didn’t manage to get pictures of them since I was preoccupied trying to finish the job on time. The first problem: There are two standard sizes for Tune-O-Matic bridge posts. Let’s just call them wide and narrow for simplacy. The bridge posts originally on this guitar were the wide variety and the T-Bridge were the narrow. The old holes for the bridge posts had to be doweled and re-drilled before anything else could move forward. Fantastic…

Epiphone 335 - LR Baggs T-Bridge Install Epiphone 335 - LR Baggs T-Bridge Install Epiphone 335 - LR Baggs T-Bridge Install

The second problem (and this one is a lot less inexcusable), the T-Bridge volume pot, is short shaft. So after wiring the system up, drilling irreversible holes into the customer’s guitar, I feed the electronics into the guitar to find the shaft of the pot is not long enough for the nut and washer to catch on the top side. This makes absolutely no sense to me. A short shaft pot only works when mounted to small distances; a pick guard (like a Strat or Tele). It doesn’t span the distance necessary to mount on a carved top body. What is infuriating about this, you know Baggs made this bridge to work as a direct replacement for Gibson guitars. After all, they are the biggest brand to utilize the Tune-O-Matic bridge. NEARLY ALL GIBSON GUITARS HAVE CARVED TOPS. A SHORT SHAFT POT DOESN’T FRIGGIN’ WORK! And I can’t exactly route the underside of the cavity on a guitar with a glued top, who’s electronics are fed through the F-holes. Oh, and I didn’t mention this pot is 5 meg. An uncommon potentiometer value, which barely exists in the outside electronics manufacturing world, much less the electronics intended for guitars. I contacted LR Baggs, they said they don’t offer a long shaft version of this pot. I had to find one on my own. Great customer service fellas!

Epiphone 335 - LR Baggs T-Bridge Install Epiphone 335 - LR Baggs T-Bridge Install Epiphone 335 - LR Baggs T-Bridge Install

Fry’s is the only electronic store in town that might carry something like this. They do not. After searching online, I came across a company which had a 5 meg pot A set of two cost me $20. They took a week to ship to me, setting the project back. When they arrived, I was heartbroken after wiring up the pot and finding it was too large to fit into the F hole. It’s things like this that drive me crazy, when working on projects. At this point, I contacted the customer and let him know the situation. Thankfully, he was an understanding guy and sympathized. I contacted LR Baggs again, asking what the alternatives were, given the circumstance. The lesser of evils ended up being a 1 meg pot. These are typically found in the upper circuit of Jazzmaster guitars and are readily obtainable. I even had a few in my shop, ready to go. 1 meg pots have a warmer sounding value than 250k pots, which are typically used to dampen the brightness of the single coil pickup. Piezo bridges are naturally and overly-bright. This is because of the way the piezo transducer converts string vibrations to sound. The purpose of the 5 meg pot was to help dampen this occurrence. The 1 meg pot, would not effectively dampen the brightness of the piezo, but is the closest that we could get, and still perform functionally. The end result, the piezo was a bit brighter and the customer will have to roll back some treble and presence on his amp so the T-Bridge doesn’t make his audience’s’ eardrums explode at the next gig.

Epiphone 335 - LR Baggs T-Bridge Install Epiphone 335 - LR Baggs T-Bridge Install Epiphone 335 - LR Baggs T-Bridge Install

All this aside, the T-Bridge is a cool innovation and a highly functional upgrade for a guitarist that appreciates a multi-function instrument. I just wish, for the love of luthier, LR Baggs, get your shit together and provide us with a long shaft pot! Simple stuff!

Read more

Fishman Matrix Infinity Pickup Install

Fishman Matrix Infinity Pickup Install

South Austin Guitar Repair

I’m often asked for recommendations for acoustic guitar pickups. There are two main types: the under-saddle piezo element, and a microphonic pickup. A microphonic pickup is as it sounds; a small, calibrated microphone mounted inside the body of the acoustic intending to amplify the resonating sound and presence within the guitar. The piezo transducer, uses crystals to amplify the vibrations resonating through the saddle and wood of the guitar.

Fishman Matrix Inifinity Pickup Installation Fishman Matrix Inifinity Pickup Installation Fishman Matrix Inifinity Pickup Installation Fishman Matrix Inifinity Pickup Installation Fishman Matrix Inifinity Pickup Installation

I prefer the piezo element. It’s precise, feeds back a little less and gives an articulate attack when the strings are played. I’ve found one pick up to stand above the rest, from our good technicians from Fishman. Their Matrix Infinity pickup has proven to be a great bang for your buck and one of the least invasive installations that can be made to your guitar.

Fishman Matrix Inifinity Pickup Installation Fishman Matrix Inifinity Pickup Installation Fishman Matrix Inifinity Pickup Installation Fishman Matrix Inifinity Pickup Installation Fishman Matrix Inifinity Pickup Installation

Unlike other acoustic pickups with graphic band equalizers that require a dedicated space of wood removed from the instrument, the Matrix Infinity has a simple rotary volume/tone that mounts discreetly to the underside of the sound hole. Aside from that, only two holes need to be drilled (if they haven’t been already). One hole underneath the saddle for the pickup wire to feed through, and another at the rear strap button for the jack.

Fishman Matrix Inifinity Pickup Installation Fishman Matrix Inifinity Pickup Installation Fishman Matrix Inifinity Pickup Installation Fishman Matrix Inifinity Pickup Installation Fishman Matrix Inifinity Pickup Installation

The battery box mounts to the inside of the guitar wherever you choose (I mount it at the neck block for easy access) and there are flexible hooks with double stick tape to bunch the wires together and mount out of visibility inside the body.

Fishman Matrix Inifinity Pickup Installation Fishman Matrix Inifinity Pickup Installation Fishman Matrix Inifinity Pickup Installation Fishman Matrix Inifinity Pickup Installation

I usually search on bay for the best pricing on these. I generally find them for about $120. They have two spacing available. Narrow and wide. Which one wold best accommodate your guitar? Generally, wide spacing will work for any modern acoustic bridge. The narrow model is more for vintage style acoustics. Up until around the 50’s-60’s, saddles tended to run on the narrow side.

It’s a quick and easy install and of the 20+ people I’ve installed these pickups, not a single one has come back with a complaint. I’m not being paid by Fishman to report this, I’m simply advocating a solution to a question frequently asked.

Read more

Bass Build – Alembic Style – Nordstrand – ACG Preamp – ETS Bridge – Carvin Neck

Bass Build. Alembic style design, Nordstrand Big Splits Pickups, ACG EQ-02 Preamp, ETS Bridge

South Austin Guitar Repair

I haven’t built anything from near scratch in a long time. At least 4 years? I’ve missed it. It’s one of the things I’m able to do that defines me. Granted, when I was last building things, I was still at Chico state and had more free time on my hands. But nonetheless, this project turned out to be my best work to date in creativity, style, aesthetic and patience. I’ve already gigged with it a few times, and yes, it sounds and plays every bit as good as it looks.

Bass build in Austin TX Bass build in Austin TX Bass build in Austin TX Bass build in Austin TX Bass build in Austin TX


I’ve always had a love for Alembic basses. Who doesn’t? They pioneered the artistry in boutique instruments. But who has $5,000 lying around that would best be put into purchasing an instrument? I think I’d rather pay off my car loan before I can justify something like that. So begins my journey to create my next instrument.

Bass build in Austin TX Bass build in Austin TX Bass build in Austin TX Bass build in Austin TX Bass build in Austin TX


I never build the same thing twice and am always trying different things. However, I do stick with what I like when I find it. I’ve built 2 basses using the Carvin neck-through blanks. They’re great. Though since the last time I built with them, they weren’t offering the ebony fingerboards as the default. It’s now plain ol’ rosewood. Oh well. Di minimis on this project!

Bass build in Austin TX Bass build in Austin TX Bass build in Austin TX Bass build in Austin TX Bass build in Austin TX


When shopping around for woods, the best and most beautiful in my opinion is buckeye. When I came across this top, it was love at first sight. I’ve also never worked with purpleheart before but always had some interest in it. I mean, it’s purple wood. That’s hilarious and gorgeous at the same time. I needed a wood for the back though. I was toying with cocobolo, ziricote and a few others. After some searching around, I came across OregonWildwood.com. They had a pretty cool collection of woods cut for guitar making. But they had one wood which ended up being EXACTLY what I was looking for. Beautiful grain, variance of colors, and the tree is comes from produces my favorite nut. Pistachio! I had no idea these trees had this kind of grain, but when I saw it, I knew I had to do it.

Bass build in Austin TX Bass build in Austin TX Bass build in Austin TX Bass build in Austin TX Bass build in Austin TX


The bridge was another journey in its own. I wanted to stick with the Alembic approach and have a bridge + tailpiece combo but wasn’t having much luck finding anything available for single purchase. Eventually, after enough googling, I came across a really cool site out of Germany. BassParts.de They sell a brand “ETS” which machines parts to your specs. They have sleek and stunning designs and seem to be used by a lot of manufacturers throughout Europe. The only bummer is, from the time I ordered to the time the bridge finally came took about 3 months. That put the project to a bit of a halt since I wasn’t able to measure certain things to cut without it.

Bass build in Austin TX Bass build in Austin TX Bass build in Austin TX Bass build in Austin TX Bass build in Austin TX


Electronics are my favorite part of bass building. I love to have different voices available in my basses. If I have a humbucker, I never hesitate to coil tap or series/parallel. I always use on-board preamps and of course, my favorite on-board distortion circuit made by Artec. I’ve heard a lot of great things about Nordstrand pickups and decided to give them a whirl. I ended up using the Big Splits. I was intrigued of the idea of rotating the pole pieces, and that the pickups were wound into 2 groups of bobbins versus 1 single. And certainly enough, they ended up being the right choice. Articulate, bright and beautiful 🙂

Bass build in Austin TX Bass build in Austin TX Bass build in Austin TX Bass build in Austin TX Bass build in Austin TX


For preamps, in the past, I’ve used the Aguilar OBP series. They’re great. Awesome range to boost frequencies, different combinations of pots. No complaints. But this time, in the spirit of new, I tried using a filter-style preamp made by ACG. And I can now say, I will never go back. Alembic pioneered the filter preamp. Basically, rather than just boosting/cutting frequencies, you can select the range of frequencies you want to manipulate and boost/cut them. Doesn’t sound like much of a difference, but believe me, it makes ALL the difference. I generally like bright tone when I play. This preamp enables me to dial in the best sound for my attack, and lets the frequencies ring pristine.

Bass build in Austin TX Bass build in Austin TX Bass build in Austin TX Bass build in Austin TX Bass build in Austin TX


I had a bit of an unconventional approach when putting the body woods together. I lived the idea of a neck-thru design, but plain ol’ maple isn’t exciting to look at. Additionally, the way this neck blank was cut, it was meant for wood to be glued to the top and bottom. I had to use a table saw to cut off the 3/8″ to accommodate the buckeye top and maintain a reasonable height for the bridge. I also had to factor in the height of the purpleheart and shave off another 3/8″ on the bottom side of the blank for the pistachio wood. For that, I used a jointer (surface planer).

Bass build in Austin TX Bass build in Austin TX Bass build in Austin TX Bass build in Austin TX Bass build in Austin TX


Again, unconventionally, I first glued the neck blank to the pistachio wood. Next, I glued the purpleheart wings to each side. I meticulously aligned and refined the positions as they were being glued to ensure they didn’t shift while the glue dried. It ended up working out very well! Also, you notice I cut out the electronics cavity from the pistachio with a scroll saw? Pretty sweet!

Bass build in Austin TX Bass build in Austin TX Bass build in Austin TX Bass build in Austin TX Bass build in Austin TX


After the pistachio and purpleheart were glued together, I needed to lighten the load. I do this by routing out some wood before gluing the top on. As long as you leave a solid piece of wood down the center of the body for the pickups and bridge to mount, you won’t lose any tone or sustain. But you can’t get too crazy with routing out wood. There’s many things to keep in mind. Buckeye burl is not a very strong wood. You can’t just route out a large area and hope for the best. All it takes is the bass to fall on a corner and you have a hole in the guitar top. You can’t route too deep, or you just might end up with a hole in the back of your guitar. My router crapped out on me half way through this step. The bit kept slipping down and I was afraid that it would go through the back of the bass. I ended up having to finish this out with a boring bit on my drill press. Not the prettiest to look at, but then again, it did the trick to keep the weight down and it’s not going to be seen after I glue on the top.

Bass build in Austin TX Bass build in Austin TX Bass build in Austin TX Bass build in Austin TX Bass build in Austin TX


After top was glued on, I used a 2″ hole saw to cut out the initial “omega” shape. I taped a template of the body shape and used a router (new one) to even out the rough cuts made on the body wood with a band saw. Using a series of hand flees, I beveled the buckeye to blend into the purpleheart and add contrast to the look. I then routed out the pickup cavities. The bass is starting to take shape!

Next up is my least favorite of the process… finish work. Although, rather than just applying finish right away, I applied about 5 coats of sanding sealer. I love this stuff! It’s clear, it evens out the wood, dries quickly and really make the grain pop! Then it was onto 5 coats of the actual finish. Wet sanding every 2 coats during that whole process.

Finally came time to wire up the electronics. it was a bit of a mess in the electronics cavity and pretty tightly fit. I had to do a bit of troubleshooting to figure out some grousing issues. Ended up having to copper shield the cavity and solder some ground wires to it. In the end, it all worked out.

Bass build in Austin TX Bass build in Austin TX Bass build in Austin TX


This bass, is my pride and joy. Named “Big Gino” after my grandpa whom was a woodworker for many years. He helped me on many builds before this and is an all around stand up gentleman. I’ve already gigged with this a few times and can’t be happier. I will say, no one in Austin is playing anything like this bass and for that fact alone, it’s pretty neat.

Read more

Epiphone Hummingbird Bridge Re-Glue, Fret Level, Bone Nut and Saddle

Epiphone Hummingbird Bridge Re-Glue, Fret Level, Bone Nut and Saddle

South Austin Guitar Repair

This Epiphone went for a total overhaul. Cracked bridge, fret leveling, bone nut and a few cracks glued.

The guitar is used in Big Orange Studios, here in Austin. It’s a beautiful dreadnaught with 30+ year old wood and have ben used on many recordings. The tone and resonance of the guitar was decent, but the current plastic nut and saddle were not doing the guitar justice. A great upgrade for a guitar any age, is a bone nut and saddle.

Epiphone Hummingbird Bridge Re-Glue, Fret Level, Bone Nut and Saddle Epiphone Hummingbird Bridge Re-Glue, Fret Level, Bone Nut and Saddle Epiphone Hummingbird Bridge Re-Glue, Fret Level, Bone Nut and Saddle Epiphone Hummingbird Bridge Re-Glue, Fret Level, Bone Nut and Saddle Epiphone Hummingbird Bridge Re-Glue, Fret Level, Bone Nut and Saddle

 
So the first thing needed, was to remove the old bridge. It would have been possible to glue the old bridge back together, but the owner was not interested. He felt it better to replace it entirely. Using a metal putty knife, I heat up the blade against a clothes iron. I wedge the blade in a gap between the broken bridge and the body of the guitar to heat up the existing glue. On old guitars such as this Epiphone, it’s important to be conscious where the entire blade rests. When you’re initially trying to get the blade under the bridge, some part of it will wedge under, and the other is sticking out of the side. If the hot blade comes in contact with the lacquer, it will melt through and it will not be pretty. Sometimes, it inevitably happens. It can be touched up to match the old finish to some extent, but it’s better to take your time and do things in small increments and not create more work for yourself later!

After about 20-30 minutes of carefully melting the old glue, the bridge pops off. Sometimes it’s clean, this one decided to take a bit of the top along with it! Not to worry. All of the material is within the boundary of the replacement bridge and once sanded, won’t hinder the flush appearance to the newly glued bridge.

Epiphone Hummingbird Bridge Re-Glue, Fret Level, Bone Nut and Saddle Epiphone Hummingbird Bridge Re-Glue, Fret Level, Bone Nut and Saddle Epiphone Hummingbird Bridge Re-Glue, Fret Level, Bone Nut and Saddle Epiphone Hummingbird Bridge Re-Glue, Fret Level, Bone Nut and Saddle Epiphone Hummingbird Bridge Re-Glue, Fret Level, Bone Nut and Saddle

 
Next up, I need to clean up the area for the new bridge to glue. However, the old bridge holes don’t line up with the new bridge. Additionally, the placement of the saddle is farther back on the new bridge. I need to dowel the existing holes and re-drill them about a quarter to three-eighths of an inch farther back so the guitar can intonate as best as possible. Then, I take masking tape and mask off the area which the new bridge will glue. Then, using mostly a small sanding block and the occasional chisel scrap, I even the surface and remove any old finish that would otherwise get in the way of the new bridge.

Epiphone Hummingbird Bridge Re-Glue, Fret Level, Bone Nut and Saddle Epiphone Hummingbird Bridge Re-Glue, Fret Level, Bone Nut and Saddle Epiphone Hummingbird Bridge Re-Glue, Fret Level, Bone Nut and Saddle Epiphone Hummingbird Bridge Re-Glue, Fret Level, Bone Nut and Saddle Epiphone Hummingbird Bridge Re-Glue, Fret Level, Bone Nut and Saddle

 
Additionally, this bridge was taller than the old one. If I were to glue it as-is onto the guitar, the strings would sit much higher off the fingerboard. I sanded the bottom side as far as I possibly could. Even that wasn’t enough. So I took some material off the top side of the new bridge with a circular sander. I lightly sand the top to level out the big scratches and finish it with a few coats of lacquer.

Epiphone Hummingbird Bridge Re-Glue, Fret Level, Bone Nut and Saddle Epiphone Hummingbird Bridge Re-Glue, Fret Level, Bone Nut and Saddle Epiphone Hummingbird Bridge Re-Glue, Fret Level, Bone Nut and Saddle Epiphone Hummingbird Bridge Re-Glue, Fret Level, Bone Nut and Saddle Epiphone Hummingbird Bridge Re-Glue, Fret Level, Bone Nut and Saddle

 
Finally, it’s ready to be glued. I use an razor and score lines onto the bottom of the bridge and the top of the guitar where it will glue. When clamping the new bridge, the pressure of the clamps will force the glue to seep into the small crevasses and result a stronger bond.

Epiphone Hummingbird Bridge Re-Glue, Fret Level, Bone Nut and Saddle Epiphone Hummingbird Bridge Re-Glue, Fret Level, Bone Nut and Saddle Epiphone Hummingbird Bridge Re-Glue, Fret Level, Bone Nut and Saddle Epiphone Hummingbird Bridge Re-Glue, Fret Level, Bone Nut and Saddle Epiphone Hummingbird Bridge Re-Glue, Fret Level, Bone Nut and Saddle

 
After 24 hours, the clamps come off and I can begin the fret leveling. I cover this step by step in a few other blog posts, so you can view them there if the pictures don’t tell enough of a story for you.

Lastly, I carve a bone nut and saddle, matching the profiles of the originals. Then, string the guitar up and it’s all ready to get back and lay down some tracks on wax.

Read more

Telecaster Re-Fret, Bone Nut and Neck Shim

Telecaster Re-Fret, Bone Nut and Neck Shim

South Austin Guitar Repair

This project brought new life to an old friend. The Telecaster that was pieced together by my customer. It was loved and played for many years to the point where the frets had divots all up and down the neck. Normally, frets have enough material on them to get at least one or two fret levelings before replacing them is needed, but at the customer’s request, they needed to go.

With the guitar pieced together, the height of the neck at the heel didn’t match the neck pocket. The action was still quite high even with the bridge lowered all the way down. The customer actually placed 2 outdated credit cards as shims…

Telecaster Re-fret - South Austin Guitar Repair Telecaster Re-fret - South Austin Guitar Repair Telecaster Re-fret - South Austin Guitar Repair Telecaster Re-fret - South Austin Guitar Repair Telecaster Re-fret - South Austin Guitar Repair Telecaster Re-fret - South Austin Guitar Repair

 
To remove the frets, I heat them one by one, with a soldering iron and working each out with a fret puller. It’s important to keep the frets warm so the teng pulls the least amount of wood grain with them.

Once the frets are out, I measure the radius of the fingerboard so I know what to bend the new fretwire into. This Tele has a particularly round radius of 7.25″ After cleaning off the new frets, I run the wire through the fret bender. Usually takes a few times of trial and error to get the correct curvature. After that, I prep the existing slots in the neck with a saw which matches the new fret wire’s teng. Not much is needed.

Telecaster Re-fret - South Austin Guitar Repair Telecaster Re-fret - South Austin Guitar Repair Telecaster Re-fret - South Austin Guitar Repair Telecaster Re-fret - South Austin Guitar Repair Telecaster Re-fret - South Austin Guitar Repair Telecaster Re-fret - South Austin Guitar Repair

 
Next, I pre-cut the bent fret-wire and begin pressing the frets into the fingerboard with my handy arbor press. This tool is amazing. Traditionally, a neck is re-fret with a hammer, which is loud… really loud and takes at least 5 hits per fret to sit properly. Multiply that by 21 or more frets and you have angry neighbors.

Sometimes, I like to use glue when pressing in the frets. I chose not to this time and let the teng of the fret work its magic. After all the frets are pressed in, the next step is to file the edges flush with the fingerboard. As you can tell the picture with the sleeping cat, I was working late into the night… or maybe early afternoon, or… I don’t know. Cats sleep 2/3 of the day apparently.

Telecaster Re-fret - South Austin Guitar Repair Telecaster Re-fret - South Austin Guitar Repair Telecaster Re-fret - South Austin Guitar Repair Telecaster Re-fret - South Austin Guitar Repair Telecaster Re-fret - South Austin Guitar Repair Telecaster Re-fret - South Austin Guitar Repair

 
Next up, I take a small, 3-corner file and round out the fret ends. If you’ve ever played a guitar off a factory belt that skipped this step, you’ll probably remember it for the rest of your life because those cuts are nasty! I mask off the fingerboard with tape and file each fret end, both sides

After that, the new frets need to be leveled. Although they look to be at the same height at a glance, there are always high spots. and check each string position with my handy fret rocker and make a note of which spots that will need leveling. Then, I get to work with my leveling file. I check the marked areas with my fret rocker as I go. Once everything is at an even height, I take a crowning file and re-shape each fret. This same procedure can be done with the 3-corner file, but for the sake of time, this is my method. Then, I sand out any remaining scratches with wet/dry sandpaper and finish them off with some rubbing compound. I remove the tape and apply a bit of lemon oil to condition the fingerboard.

Lastly, I discarded the credit cards and shape a piece of 1/8″ maple to the neck pocket to aid the neck height. I cut the new bone nut, (which I’ve explained my process in a few other blog entries), strung the guitar up and VIOLIA! This guitar’s got a brand new start in life.

Telecaster Re-fret - South Austin Guitar Repair Telecaster Re-fret - South Austin Guitar Repair Telecaster Re-fret - South Austin Guitar Repair Telecaster Re-fret - South Austin Guitar Repair Telecaster Re-fret - South Austin Guitar Repair Telecaster Re-fret - South Austin Guitar Repair
Telecaster Re-fret - South Austin Guitar Repair Telecaster Re-fret - South Austin Guitar Repair Telecaster Re-fret - South Austin Guitar Repair

 
Does your guitar need some a re-fret leveling or re-fret? Call Andrew with South Austin Guitar Repair 512-590-1225 for fast friendly fret work.

Read more

Jazz Bass Build

Custom Jazz Bass Build

South Austin Guitar Repair

Jazz Bass Build - South Austin Guitar Repair Jazz Bass Build - South Austin Guitar Repair Jazz Bass Build - South Austin Guitar Repair Jazz Bass Build - South Austin Guitar Repair Jazz Bass Build - South Austin Guitar Repair Jazz Bass Build - South Austin Guitar Repair

 
This project was special, it was a personal project, resurrected from one of the first basses I ever built! This particular project had changed appearances a few times through it’s life. Originally, it was a Jazz bass, then I experimented with a series of different pickup combinations, all of which required routing to the body. Eventually, this bass was set aside and scraped for parts. After using some of the spalted maple for a repair on another build, I sanded the top wood of the bass entirely and set it aside as a future project.

Jazz Bass Build - South Austin Guitar Repair Jazz Bass Build - South Austin Guitar Repair Jazz Bass Build - South Austin Guitar Repair Jazz Bass Build - South Austin Guitar Repair Jazz Bass Build - South Austin Guitar Repair Jazz Bass Build - South Austin Guitar Repair

 
Finally, I had an objective. Build a bass with a sharp attack, broad tonal range, sleek look, light-weighted and elegant aesthetic. Having never built a bass with a graphite neck, I knew that was a necessary component. I had this bookmatched AAAA quilted maple top sitting around for years. Originally, I was planning to build a guitar with it, but things got in the way and the farthest I ever got was gluing the two pieces together until it sat for years. Something funny about working with this this maple top: I don’t currently own a band saw, which is how I typically would cut out wood when building. SO when working with this piece of maple, I cut it by hand, scoring the wood with a straight-edge ruler and a razor. When the top wood was close to shape, I glued it onto the walnut body and rasped the rest of it to fit the shape. Lastly, I beveled the top with a hand router.

Jazz Bass Build - South Austin Guitar Repair Jazz Bass Build - South Austin Guitar Repair Jazz Bass Build - South Austin Guitar Repair Jazz Bass Build - South Austin Guitar Repair Jazz Bass Build - South Austin Guitar Repair Jazz Bass Build - South Austin Guitar Repair

 
For electronics, I was on a mission for a versatile, sharp-attacking growling bass tone. I hadn’t had a jazz bass for a long time. I am always experimenting with different pickup combinations and manufacturers to see what is best, but you can’t the simplicity of the almighty jazz bass. Gritty, tight, balanced; there’s good reason why they are the winning combination for musicians and manufacturers. I am a firm supporter of the Aguliar OBP preamps. I have them installed on each of my 6 basses. This one was an OBP-2, which offers a bass/treble boost and cut. I wired those with a stacked pot to save space. I prefer my pickups to be wired through a 3-way mini toggle switch into to a single volume. I’m all or nothing when it comes to pickup volume and combinations. Now, comes is my ace in the hole. The middle knob on this bass is actually a 5-way rotary switch. It’s a distortion circuit that moves from true bypass and though 4 switchable distortion models that get progressively grittier as you go up. Personally, I prefer the 3rd position for my stylings. Just enough break-up for each note to pierce through the mix while still maintaining clarity and the role of the low end of my band.

Jazz Bass Build - South Austin Guitar Repair Jazz Bass Build - South Austin Guitar Repair Jazz Bass Build - South Austin Guitar Repair Jazz Bass Build - South Austin Guitar Repair Jazz Bass Build - South Austin Guitar Repair Jazz Bass Build - South Austin Guitar Repair
Jazz Bass Build - South Austin Guitar Repair Jazz Bass Build - South Austin Guitar Repair Jazz Bass Build - South Austin Guitar Repair

 
For all your guitar repair needs, contact Andrew of South Austin Guitar Repair – 512-590-1225

Read more

Taylor Guitar Restoration – South Austin Guitar Repair

Taylor Guitar Repair

South Austin Guitar Repair

Austin Taylor Guitar Repair Austin Taylor Guitar Repair Austin Taylor Guitar Repair Austin Taylor Guitar Repair Austin Taylor Guitar Repair Austin Taylor Guitar Repair
Austin Taylor Guitar Repair Austin Taylor Guitar Repair Austin Taylor Guitar Repair Austin Taylor Guitar Repair


This poor Taylor had a run-in with a misstep of the wrong foot! The customer had borrowed this guitar from a friend and mistakenly used it for a slipper, or boot, or… I dunno. But it done got broke!

The customer was nervous this guitar might not be fixable in its condition. The breaks were complex and many. When it all comes down, (most) guitars are wood. Everything can be fixed one way or another.

Clamping wood from the outside is no issue, but when a crack is 8″ or longer and going through a surface, is difficult to keep level when re-gluing. I needed to create pressure from the inside-out for the guitar’s top to clamp evenly on the exterior.

For this repair, I went Macguyver and made a new set of clamps from a turnbuckle, threaded furniture foot and… a another, non-threaded furniture foot! The threaded furniture foot provided the necessary torque to apply pressure outward when unscrewed, inside the guitar body. Any additional clamp on the outside can apply pressure inward. The cracks are then equalized between the two sides so not to set unevenly.

Some of the cracks where odd, broken and uneven with the grain where they rest. Overlapping from where they should rest. In some of those occurrences, it’s easier to break the piece off and re-glue than to attempt to force it back.

After all the pieces were glued in place, the back, the guitar back needed to be evened out. Fortunately, Taylor uses light lacquer on their guitars, so it only took a few hours of sanding to get through the finish and level the wood. Once that was even, A few coats of clear lacquer was applied and the back was good as new.

Read more

A REAL Guitar Ressurection – 1960’s Stella Acoustic Repair

1960’s Stella Acoustic Repair

South Austin Guitar Repair


Austin Guitar Reconstruction - 1960's Stella Acoustic Guitar Austin Guitar Reconstruction - 1960's Stella Acoustic Guitar Austin Guitar Reconstruction - 1960's Stella Acoustic Guitar Austin Guitar Reconstruction - 1960's Stella Acoustic Guitar Austin Guitar Reconstruction - 1960's Stella Acoustic Guitar Austin Guitar Reconstruction - 1960's Stella Acoustic Guitar

 
Here is an old guitar that underwent a total makeover. Once again, the was the unfortunate result of parents allowing their young children to “play” their guitars. I honestly don’t know how these kids are able to deconstruct this guitar the way they did, but this is absolutely the most broken guitar I have ever come across…

The top and back were almost completely separated from from the sides, only being held together by the neck, which was broken at the dovetail joint, loose from the top and fingerboard splitting apart from the rest of the neck. The inside of the guitar had melted crayons scattered about. There were no tuners or string nut and bridge saddle. The kerfing on the sides has been split in various locations… basically, this guitar was as they call in the auto-industry, “totaled.”

But one can’t put a price on sentimental value and it was decided to bring this guitar back to life. I think for this occasion, I’ll let the pictures do the talking 😉


Austin Guitar Reconstruction - 1960's Stella Acoustic Guitar Austin Guitar Reconstruction - 1960's Stella Acoustic Guitar Austin Guitar Reconstruction - 1960's Stella Acoustic Guitar Austin Guitar Reconstruction - 1960's Stella Acoustic Guitar Austin Guitar Reconstruction - 1960's Stella Acoustic Guitar Austin Guitar Reconstruction - 1960's Stella Acoustic Guitar

Read more

Fender Stratocaster Neck Scallop

Fender Stratocaster Neck Scallop

South Austin Guitar Repair

Fender Strat Neck Scallop - South Austin Guitar Repair Services Fender Strat Neck Scallop - South Austin Guitar Repair Services Fender Strat Neck Scallop - South Austin Guitar Repair Services Fender Strat Neck Scallop - South Austin Guitar Repair Services Fender Strat Neck Scallop - South Austin Guitar Repair Services


Ever feel like your guitar doesn’t play as fast as you want? Well, aside from hours of practices, there are some other tweaks you can make to your guitar to help train yourself to play faster. Scalloping a fingerboard does exactly that.

The idea is to train your fretting hand to press as lightly as possible when hitting a fret. With the loss of wood, the harder you press down, the more you sharpen the note’s pitch. As you gain the softer touch, you press lighter on the fret, and in turn gain a faster fretting hand.

For this whole job, I used 2 round files. One large, and one smaller. I always start in the middle of the fretting space and take that down 1/8″ to 1/4″ to create the “trench” which I can then begin rounding the wood on either side.

Each scallop takes about 15 – 20 minutes from start to finish. Some of the larger spaces take even longer. There is no sense in rushing this because one slip of the rasp can cause you lots of extra time covering up an unwanted blemish or something even worse…

The inlay dots are as good as gone by the time you’ve scalloped the neck. But the owner did specify he needed them for when he teaches lessons. Using a dowel made of walnut, I cut small sections for each inlay, drilled the spot on the neck to place them and plugged them right in. Because the dowels made for a snug fit I went ahead and rasped them down to the fingerboard level while waiting for the glue to dry.

Then, I took 2 grades of sandpaper to get the nasty file and rasp marks out of the fingerboard and make it nice and smooth. I applied a few layers of clear lacquer to seal the deal and wet-dry sanded in between coats. I then lightly sanded the frets to get the unwanted lacquer off and applied some rubbing compound just the same as I do when refretting a guitar.

The very last step was to apply some rubbing compound to the recently lacquered neck and viola! A new life for a 25-year old guitar neck.

Read more

Dean Acoustic Guitar – Partial Re-Fret

Dean Acoustic Guitar – Partial Re-Fret

South Austin Guitar Repair

Austin guitar fret work and repair done fast and affordably. South Austin Guitar Repair. Call (512) 590-1225 Austin guitar fret work and repair done fast and affordably. South Austin Guitar Repair. Call (512) 590-1225 Austin guitar fret work and repair done fast and affordably. South Austin Guitar Repair. Call (512) 590-1225 Austin guitar fret work and repair done fast and affordably. South Austin Guitar Repair. Call (512) 590-1225
Austin guitar fret work and repair done fast and affordably. South Austin Guitar Repair. Call (512) 590-1225 Austin guitar fret work and repair done fast and affordably. South Austin Guitar Repair. Call (512) 590-1225 Austin guitar fret work and repair done fast and affordably. South Austin Guitar Repair. Call (512) 590-1225 Austin guitar fret work and repair done fast and affordably. South Austin Guitar Repair. Call (512) 590-1225 Austin guitar fret work and repair done fast and affordably. South Austin Guitar Repair. Call (512) 590-1225

 
Wow, it’s almost been a month since I’ve had time to blog about Austin guitar repairs. Despite the summer rush for repairs being over, the rush itself seems to continue on. I guess it’s a good problem to have?

So, down to the nitty gritty.

After many years of love and play time, the owner of this guitar made an honest attempt to re-fret the first four frets on his own. Unfortunately for his efforts, murphy’s law is especially true when doing any kind of work on your frets. So after his replaced frets completely fret themselves out, he brought it in to my shop for a fix.

The main issue, was the frets were not a good replacement size (too short in crown height) and I couldn’t simply mill them down to match the others. In this case, it was faster and easier to replace them entirely.

First the frets needed to be pulled. The customer didn’t use any glue, so they were only being held in by the teng of the fret. Once they were out, I cleaned out the inside of the fret slots for any debris.

Next, I use a gauge to determine what radius the fingerboard has been manufactured. This guitar was 10″. To translate, imagine a 10″ diameter circle; the top of that circle is the shape of this guitar’s fingerboard, which the frets are placed.

Using my handy fret bender, I fed the fret wire through and cut sections to place on the neck. Because this fingerboard had binding on its sides, I also needed to undercut the ten on the ends so it could sit flush on the fingerboard.

After applying a bit of glue to the bottom of the frets, I hammered them into their slots using a brass-tipped hammer. Once they were in, I clamped them down with a radius block that matched the fingerboard’s profile.

After a night of the glue curing, I removed the clamp and beveled the edges of the frets for any sharp corners. Using that same radius block and a bit of 150 and 220 sand paper, I leveled any imperfections in the new frets and it’s older neighboring ones. Then, using some wet/dry sandpaper, I gave them each a “once over” to smooth them further.

Next, I polished each one with a bit of rubbing compound to buff out any additional scratches. After removing the masking tape from the fingerboard, I apply a few dabs of lemon oil to coat and enrich the rosewood fingerboard

Once that’s dried, I string out the guitar and it’s back in action! Fret work, to say the least, is a series of steps. But when performed correctly, bring a tired, worn guitar, back to life.

Read more