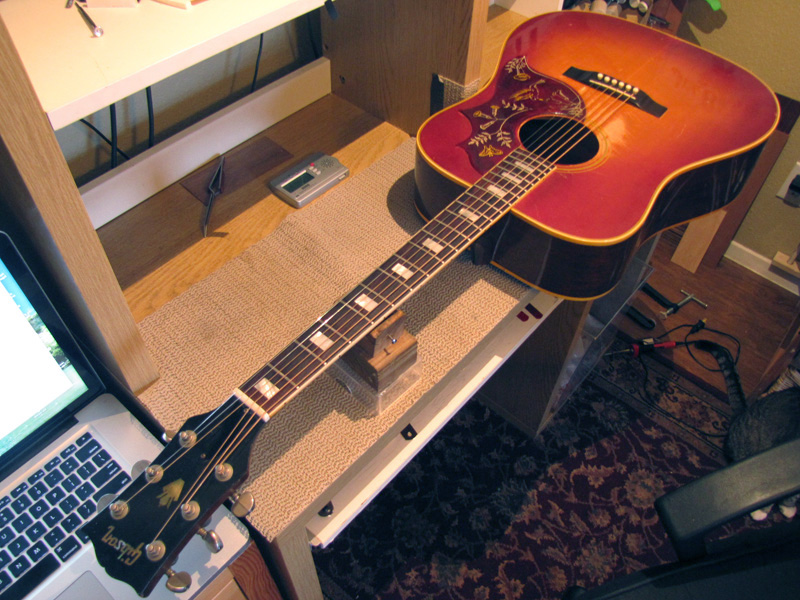
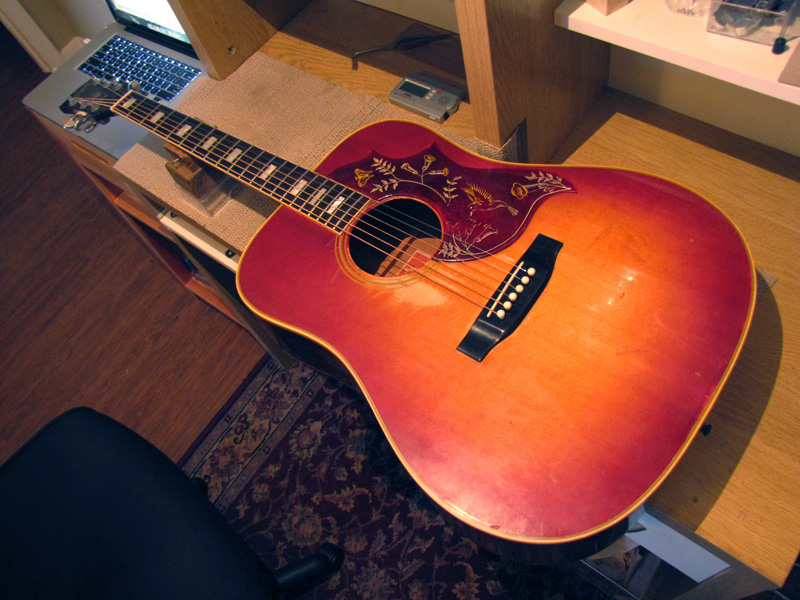
Epiphone Hummingbird Bridge Re-Glue, Fret Level, Bone Nut and Saddle
South Austin Guitar Repair
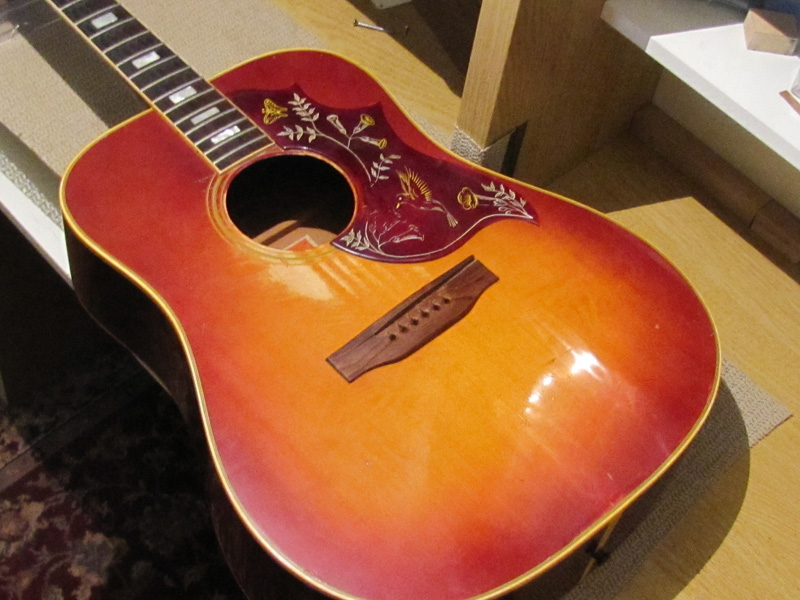
This Epiphone went for a total overhaul. Cracked bridge, fret leveling, bone nut and a few cracks glued.
The guitar is used in Big Orange Studios, here in Austin. It’s a beautiful dreadnaught with 30+ year old wood and have been used on many recordings. The tone and resonance of the guitar was decent, but the current plastic nut and saddle were not doing the guitar justice. A great upgrade for a guitar any age, is a bone nut and saddle.
 |
 |
 |
 |
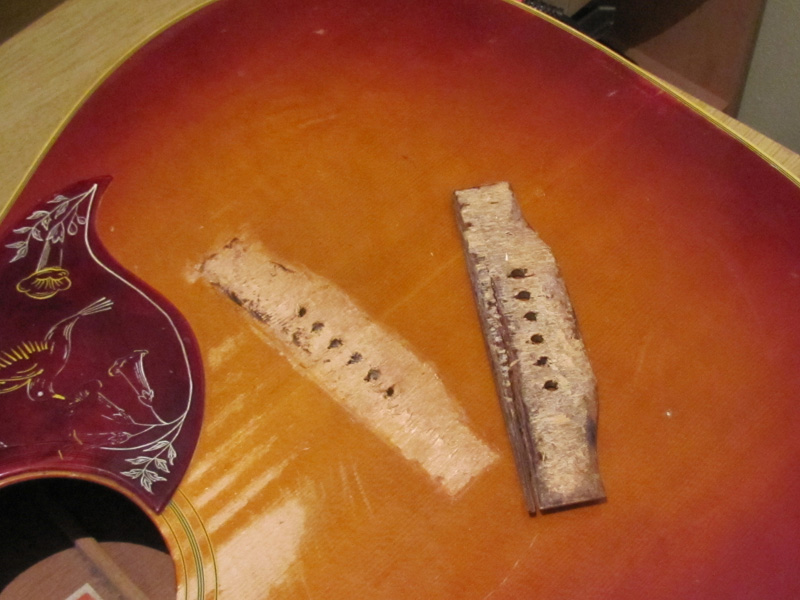 |
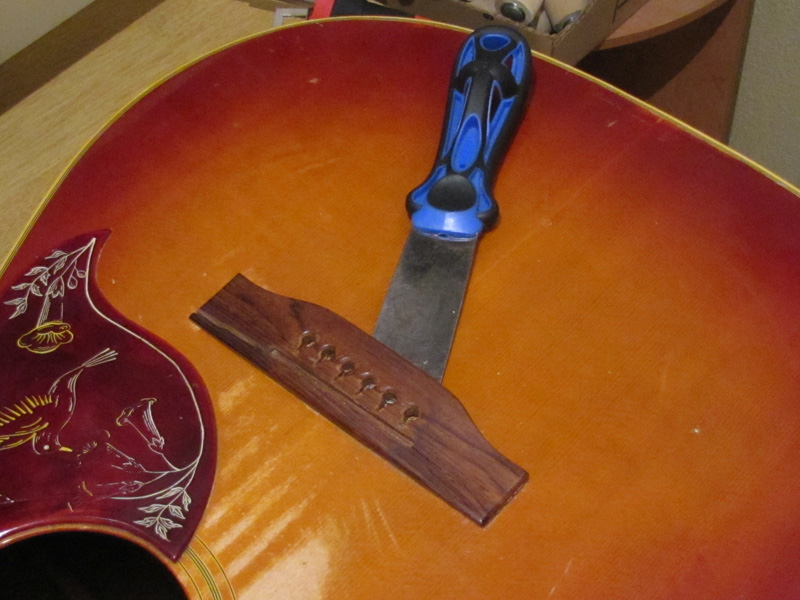
So the first thing needed, was to remove the old bridge. It would have been possible to glue the old bridge back together, but the owner was not interested. He felt it better to replace it entirely. Using a metal putty knife, I heat up the blade against a clothes iron. I wedge the blade in a gap between the broken bridge and the body of the guitar to heat up the existing glue. On old guitars such as this Epiphone, it’s important to be conscious where the entire blade rests. When you’re initially trying to get the blade under the bridge, some part of it will wedge under, and the other is sticking out of the side. If the hot blade comes in contact with the lacquer, it will melt through and it will not be pretty. Sometimes, it inevitably happens. It can be touched up to match the old finish to some extent, but it’s better to take your time and do things in small increments and not create more work for yourself later!
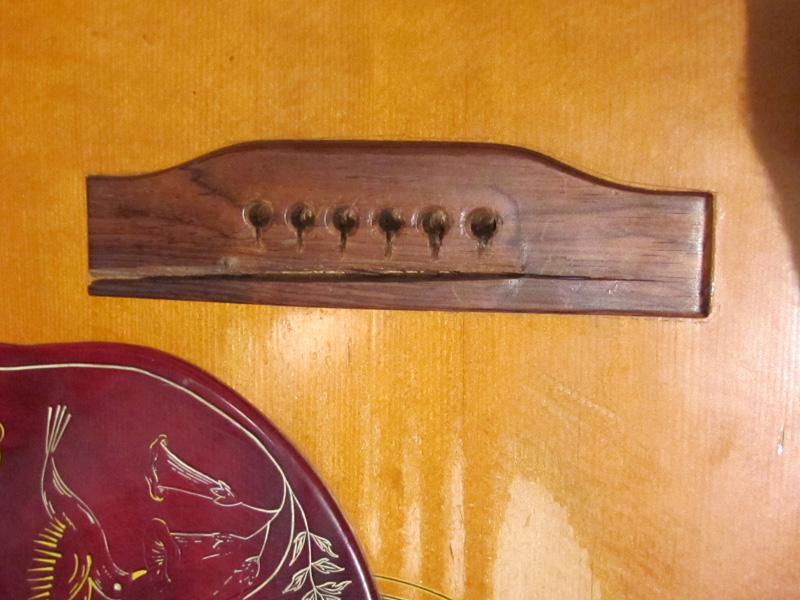
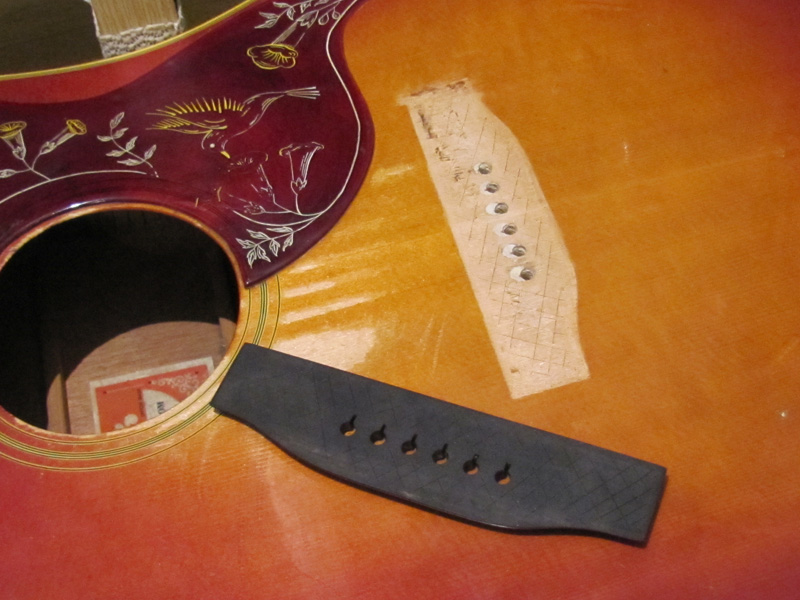
After about 20-30 minutes of carefully melting the old glue, the bridge pops off. Sometimes it’s clean, this one decided to take a bit of the top along with it! Not to worry. All of the material is within the boundary of the replacement bridge and once sanded, won’t hinder the flush appearance to the newly glued bridge.
 |
 |
 |
 |
 |
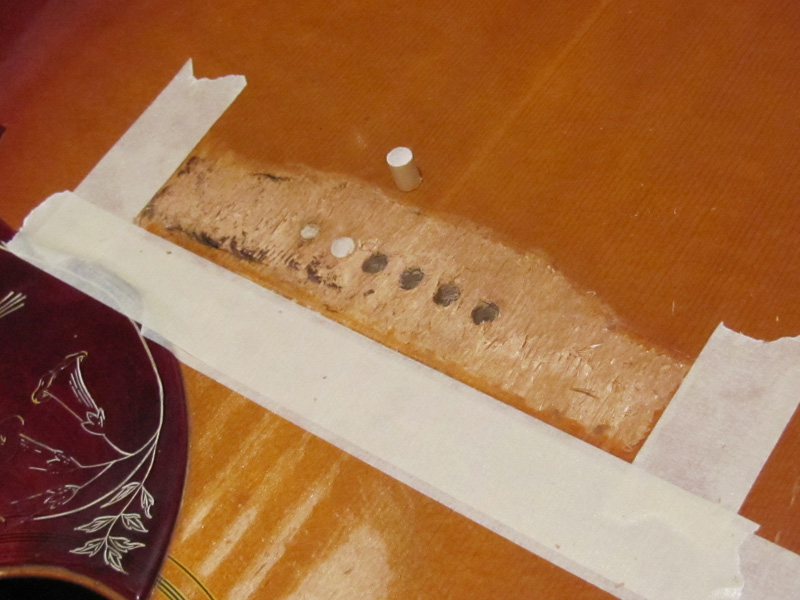
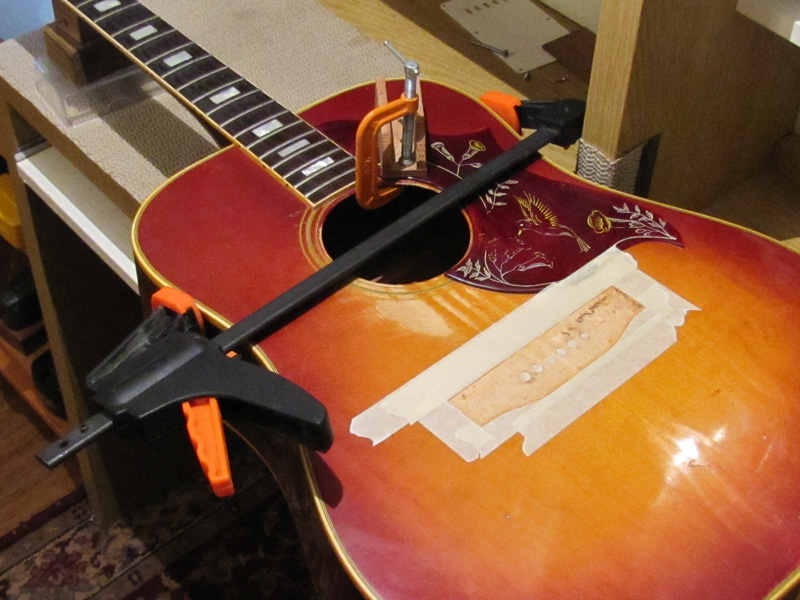
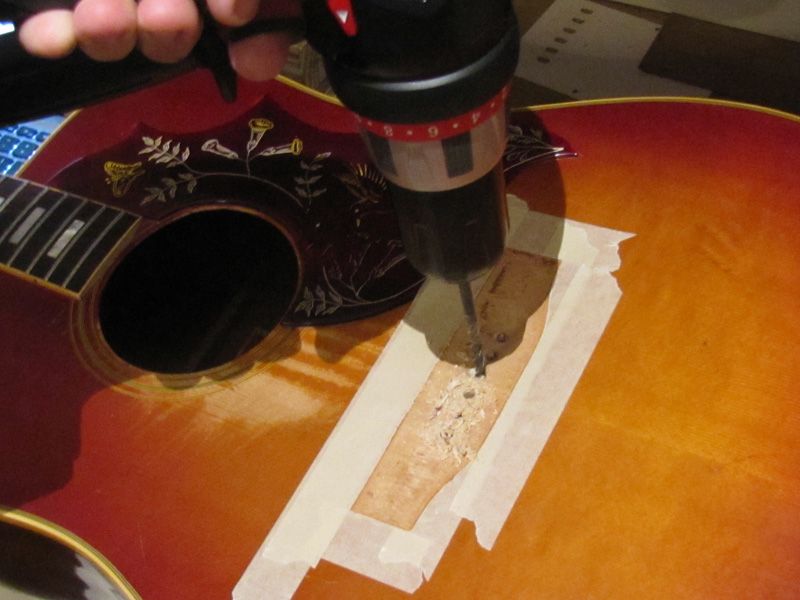
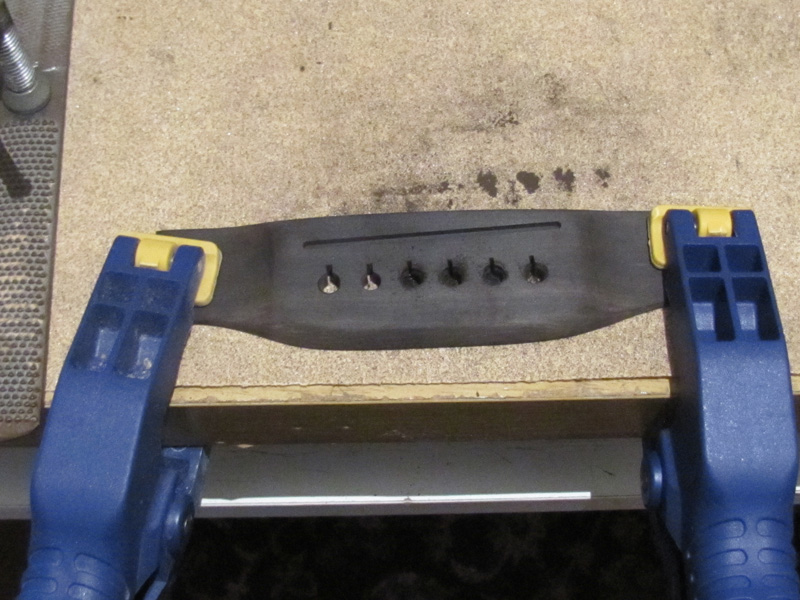
Next up, I need to clean up the area for the new bridge to glue. However, the old bridge holes don’t line up with the new bridge. Additionally, the placement of the saddle is farther back on the new bridge. I need to dowel the existing holes and re-drill them about a quarter to three-eighths of an inch farther back so the guitar can intonate as best as possible. Then, I take masking tape and mask off the area which the new bridge will glue. Then, using mostly a small sanding block and the occasional chisel scrap, I even the surface and remove any old finish that would otherwise get in the way of the new bridge.
 |
 |
 |
 |
 |
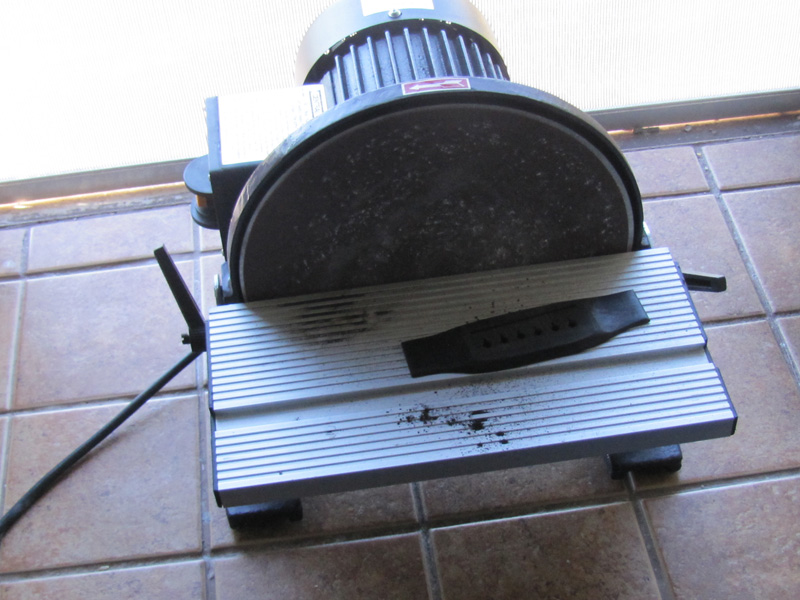
Additionally, this bridge was taller than the old one. If I were to glue it as-is onto the guitar, the strings would sit much higher off the fingerboard. I sanded the bottom side as far as I possibly could. Even that wasn’t enough. So I took some material off the top side of the new bridge with a circular sander. I lightly sand the top to level out the big scratches and finish it with a few coats of lacquer.
 |
 |
 |
 |
 |
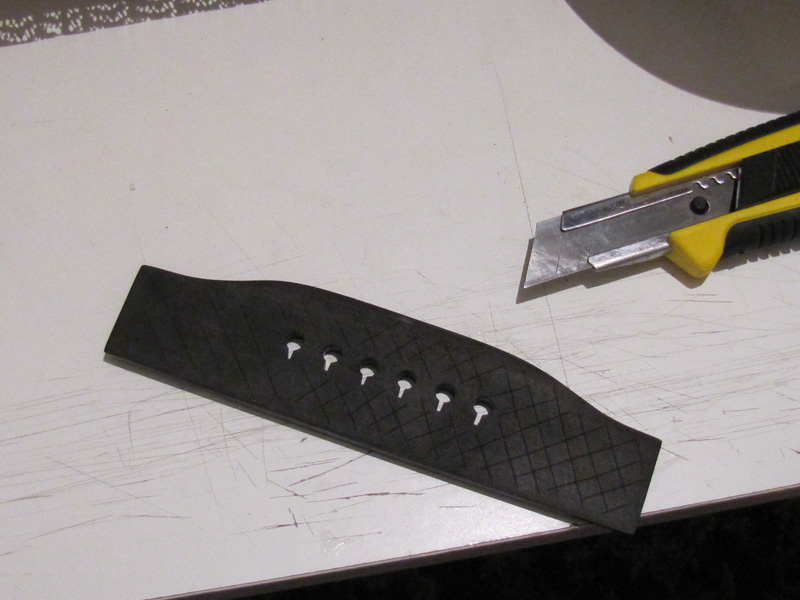
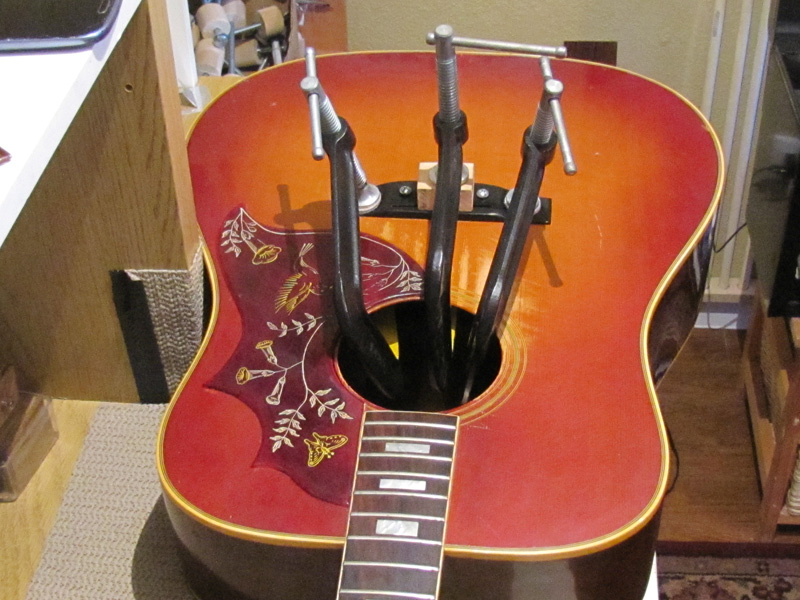
Finally, it’s ready to be glued. I use an razor and score lines onto the bottom of the bridge and the top of the guitar where it will glue. When clamping the new bridge, the pressure of the clamps will force the glue to seep into the small crevasses and result a stronger bond.
 |
 |
 |
 |
 |
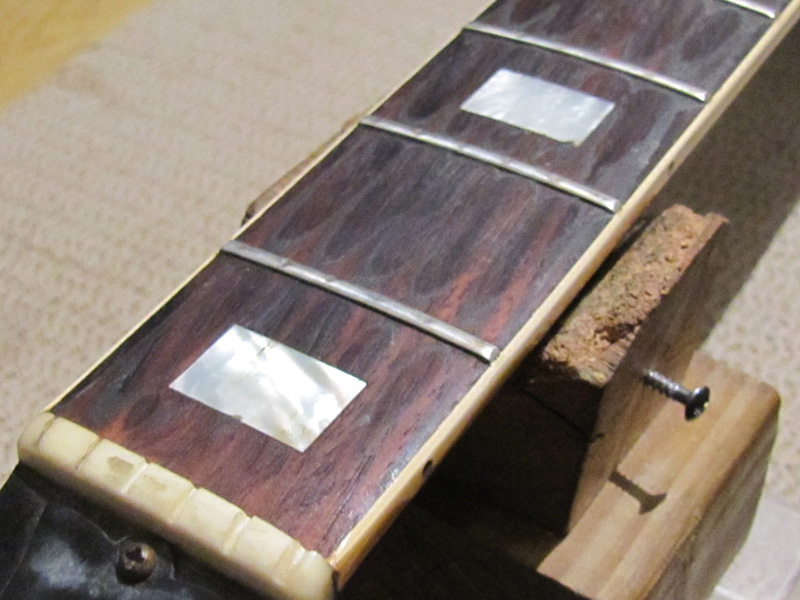
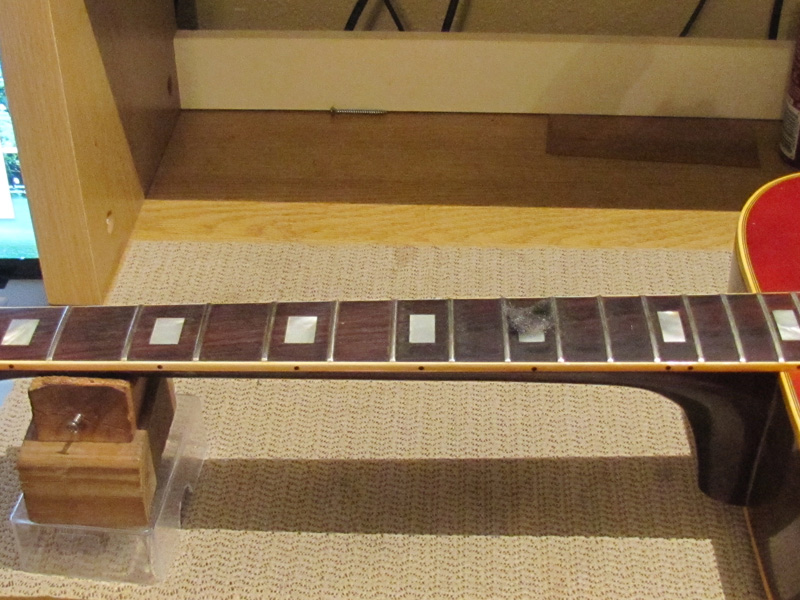
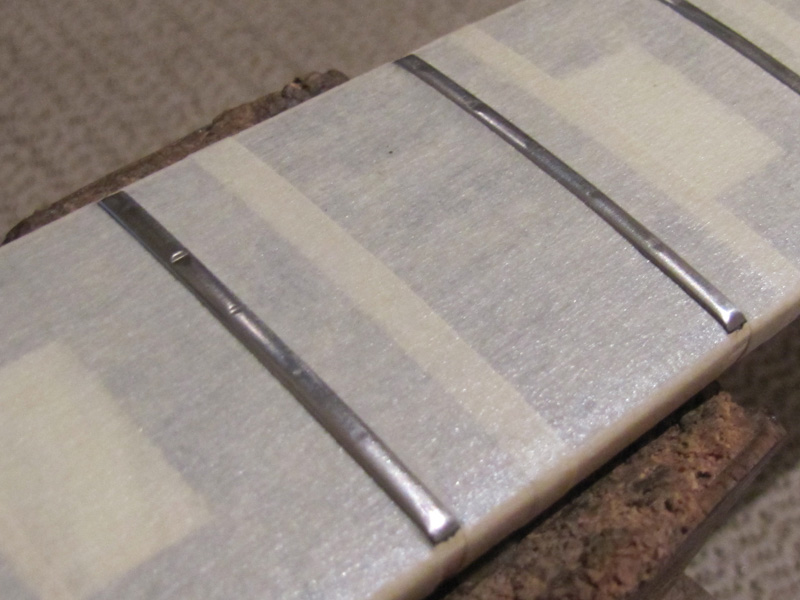
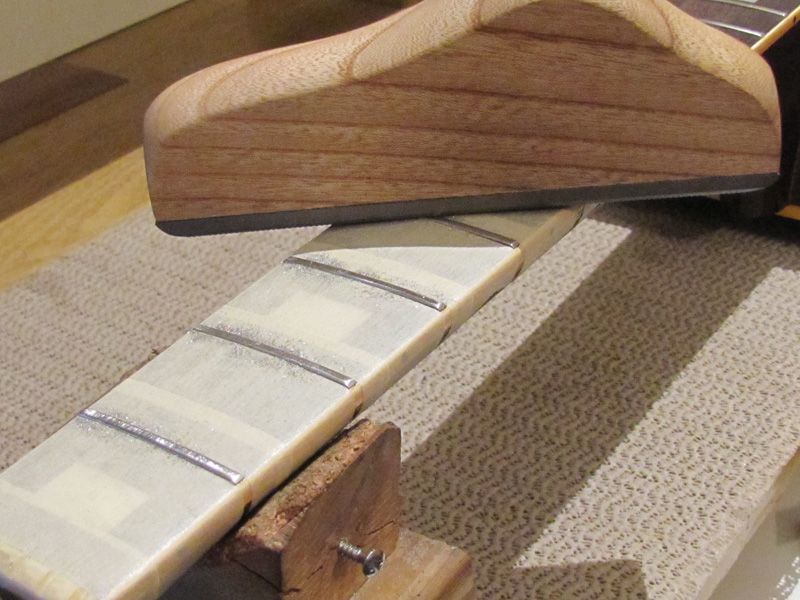
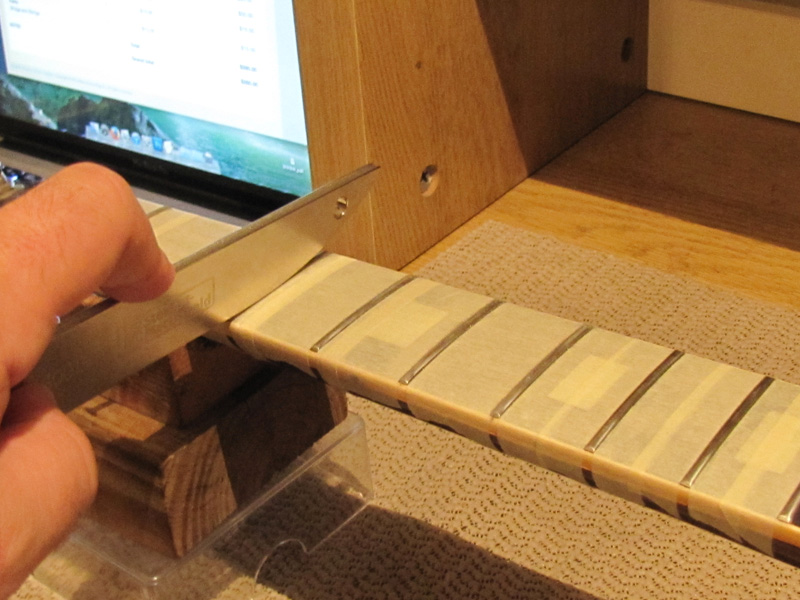
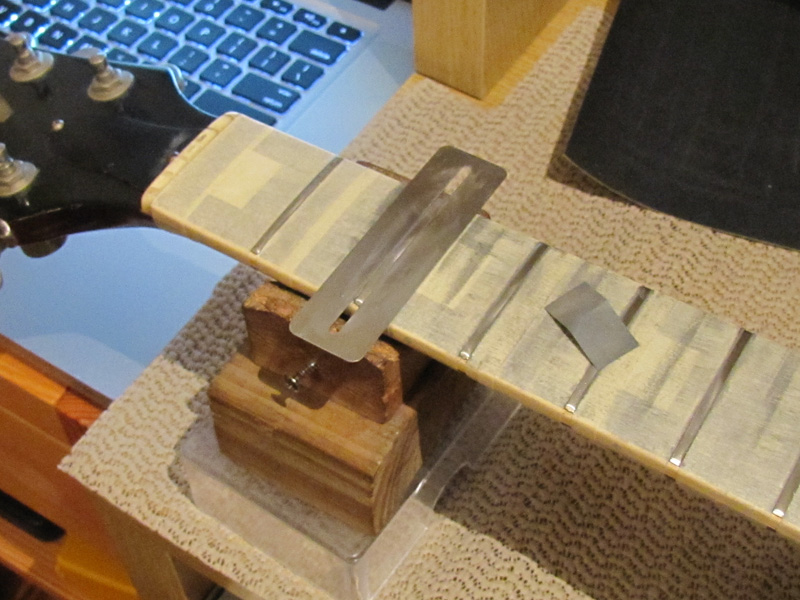
After 24 hours, the clamps come off and I can begin the fret leveling. I cover this step by step in a few other blog posts, so you can view them there if the pictures don’t tell enough of a story for you.
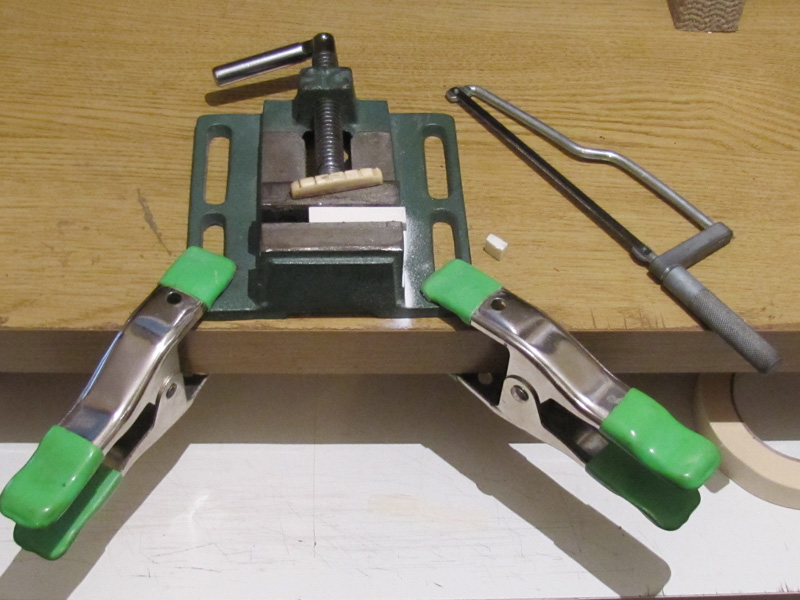
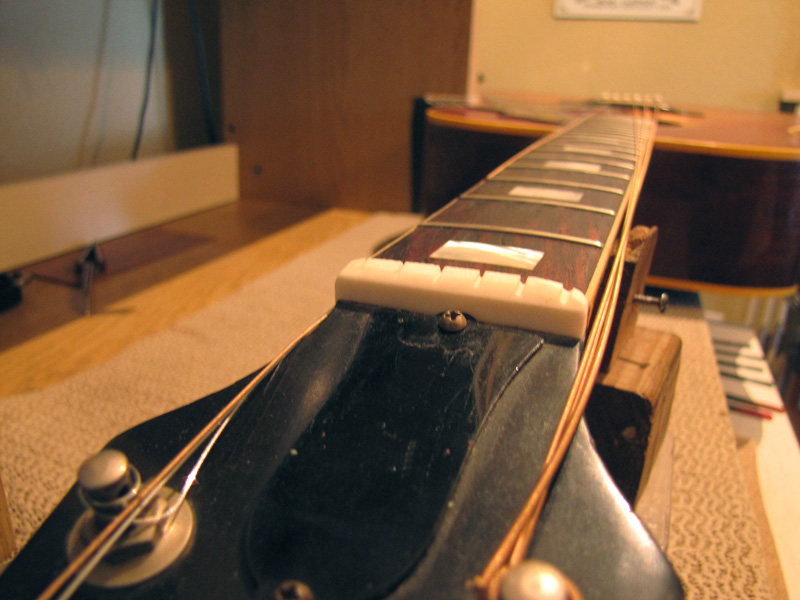
Lastly, I carve a bone nut and saddle, matching the profiles of the originals. Then, string the guitar up and it’s all ready to get back and lay down some tracks on wax.